Boosterberg makes it simple to automate your social media advertising. This guide walks you through the entire campaign creation process, from selecting your initial objective to setting up smart automation rules and managing your live ads.
The campaign creation process involves:
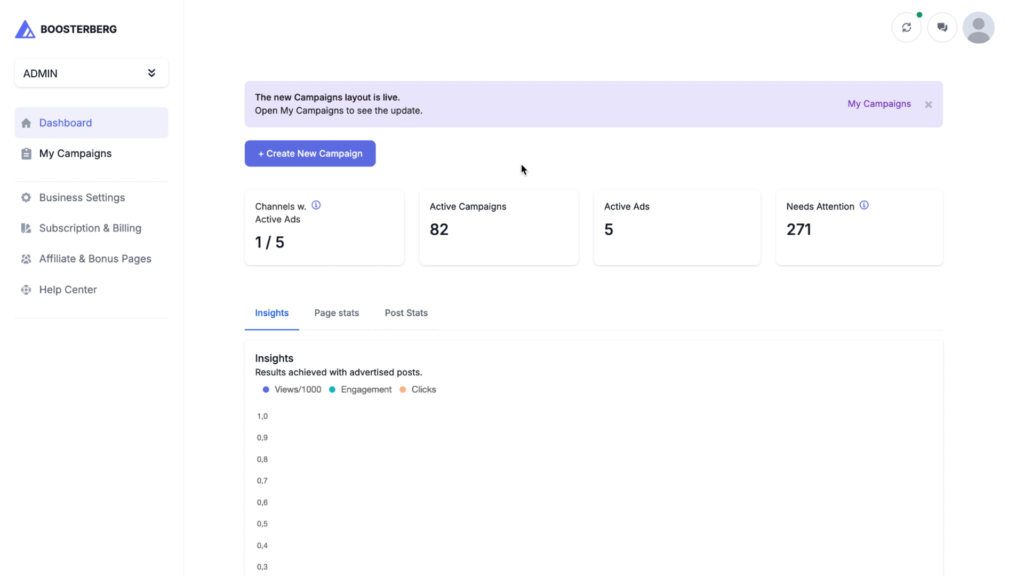
To begin, navigate to your Dashboard or the My Campaigns page and click Create New Campaign. A popup will appear asking you to choose a Source to monitor, such as Facebook Feed and Reels, Instagram Feed and Reels, or Instagram Stories.
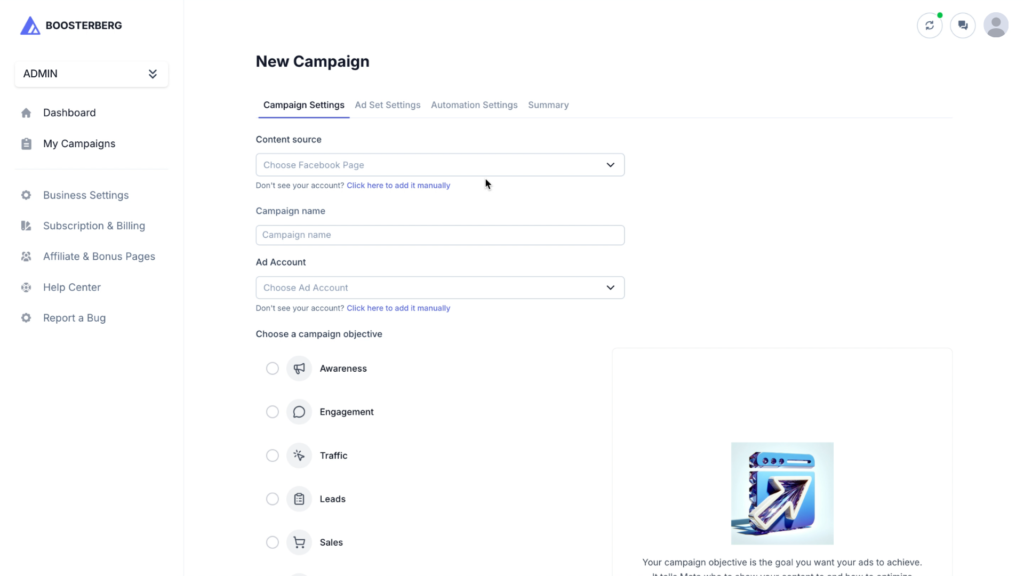
On the first page of the campaign creator, you will define your foundational campaign data:
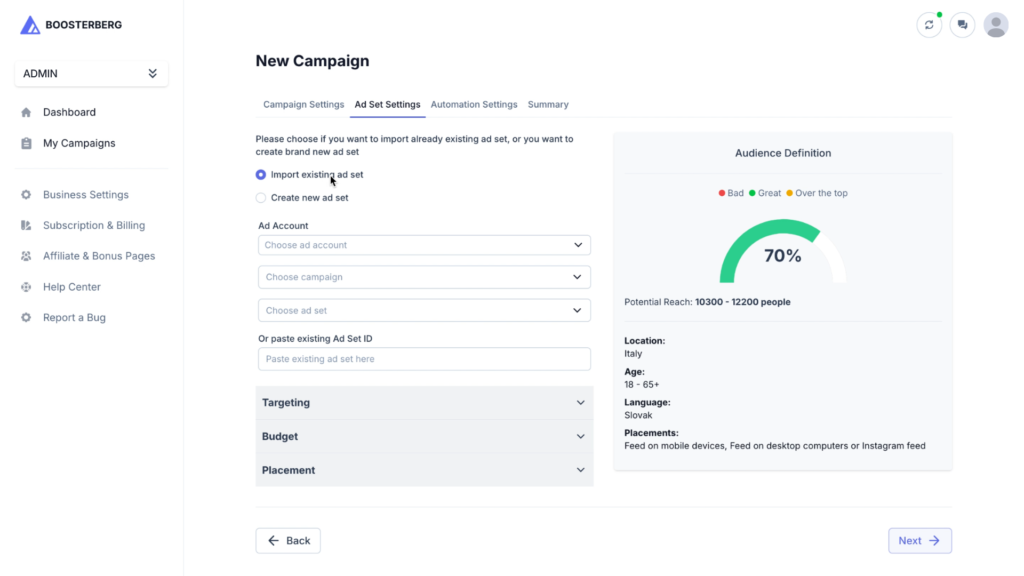
You can import a previous setup or start entirely from scratch. This section is divided into three main areas:
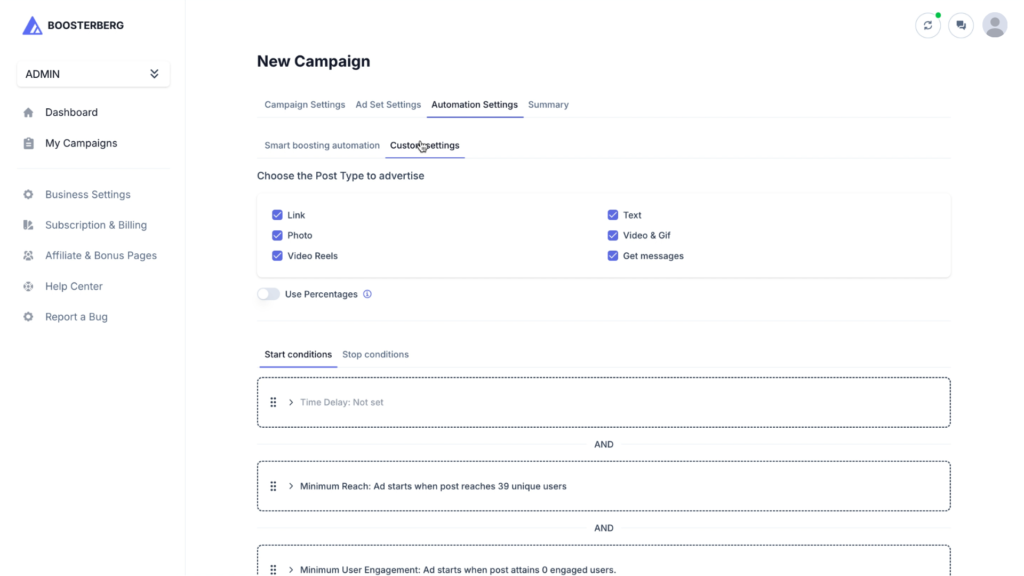
This is where you define how Boosterberg will automatically promote your content.
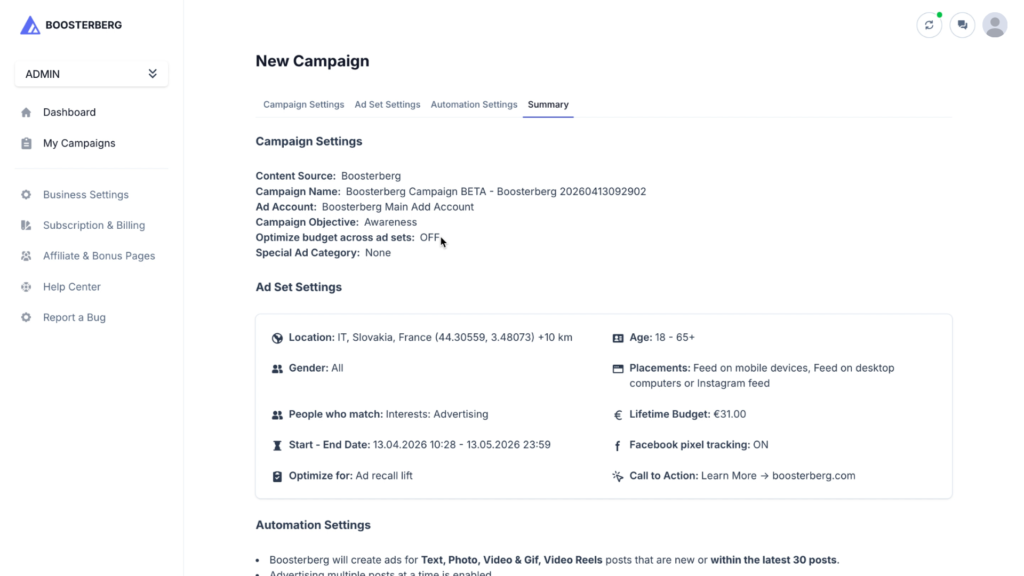
Review all your settings before taking your campaign live.
Once your campaign is live, you can easily monitor and adjust it from the platform.
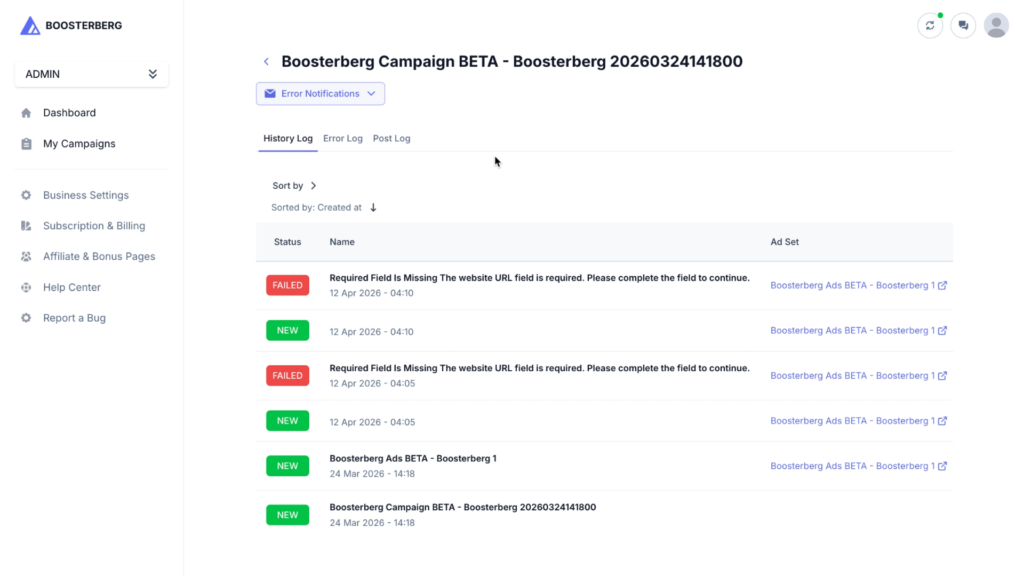
The Logs provide a detailed history of everything happening within your campaign.
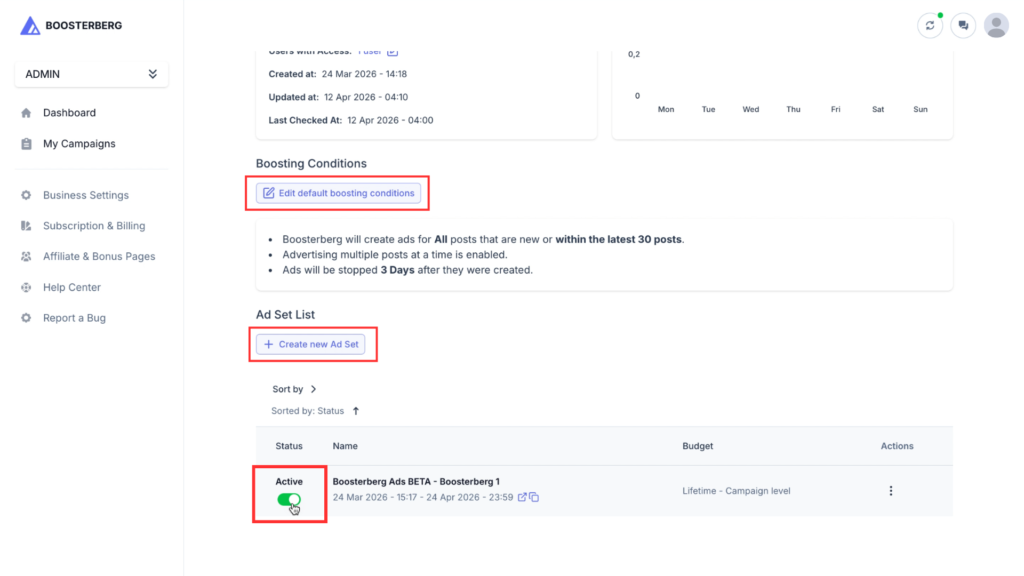
This section allows you to control the lifecycle of your ads and expand your existing setups.
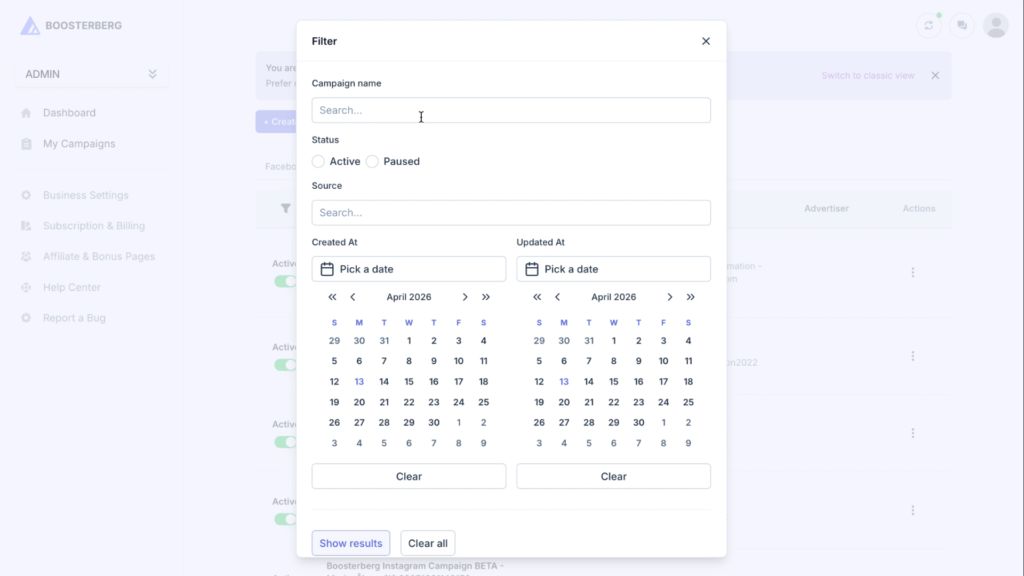
The My Campaigns page is the central hub where you can view and organize all your Facebook and Instagram campaigns. Use the search bar to find campaigns by ID or Name, or use filters to sort by specific dates.
If multiple campaigns monitor the same page, Boosterberg will evaluate each post against the rules of all active campaigns. If a post meets the criteria for both, it may be boosted twice under different ad sets. We recommend using specific Keyword Filters to ensure each campaign targets different types of content.
By default, Boosterberg identifies posts that are already being promoted. However, to avoid overlapping budgets or duplicate ads, it is best to let Boosterberg handle the automation from the start. If you have a specific post you’ve already boosted, you can use the “Exclude” keywords or filters to ensure the system doesn’t create a second ad for it.
Yes, since Boosterberg uses the “Post ID” from your page, any edits made to the original organic post (like fixing a typo in the caption) will typically reflect in the ad. However, significant changes to the media or post type may cause the ad to be re-reviewed by Meta.
This usually means your Start Conditions haven’t been met yet. For example, if your rule is set to “10 Likes” and your latest post only has 5, Boosterberg is simply waiting for that post to reach the threshold before triggering the ad.
We recommend starting with 1 or 2 clear metrics (like Reach or Keywords). If you set too many conditions (e.g., 50 Likes AND 5000 Organic Reach AND Specific Keyword), your posts may struggle to meet all of them at once, resulting in fewer ads being created.
No. Your subscription price is based on the number of monitored channels, not the number of campaigns. Since Feed, Reels, and Stories all belong to the same Instagram profile, they count as one channel. You can create as many separate campaigns as you like for these different placements without increasing your subscription cost.
You can find this information in the Logs section of your Campaign Details. The logs provide a transparent history of your campaign, showing exactly which posts triggered a boost and providing specific reasons or error messages if a post didn’t meet the requirements.
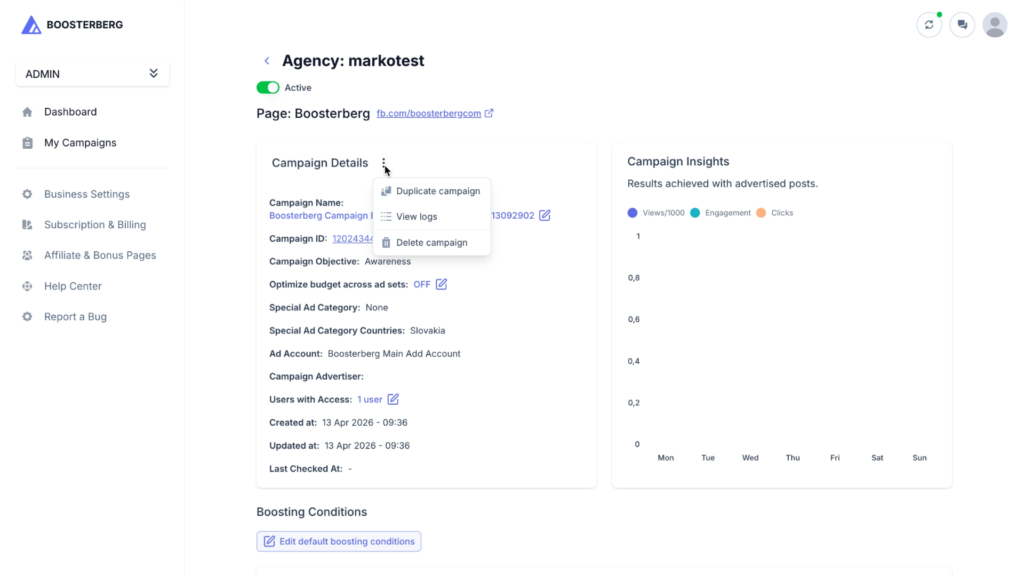
You can use the Duplicate feature by clicking the three dots next to a campaign. This allows you to create a new version where you can even choose specifically which ad sets from the original campaign you want to carry over.
When creating a new ad set, you don’t have to start from scratch. You can select Import to pull settings from an existing setup. Simply choose the Ad Account, the specific Campaign, and the Ad Set you want to mimic, and Boosterberg will automatically fill in the targeting and budget details for you.
Currently, grouping logic (using “And/Or” rules) is available for Start Conditions. While you cannot group Stop Conditions yet, we are working on this feature and plan to add it to the platform very soon.
Subscribe to our newsletter for updates on Boosterberg news and features.